
Top 5 tips for Extending Your Gear’s Life
1) Buy the Right Gear!
You want your gear to last more than one season, right?
The long and short answer is this: You get what you pay for!
Paying a little bit more for high-quality gear is always the best way to ensure that you’re getting a high-quality product.
So what is “high-quality”?
It comes down to two things:
Better materials:
Better materials are engineered to handle the rigors of outdoor adventure without breaking down.
Better construction:
Features like triple-stitched or factory-taped/heat seams show that the manufacturer spent more time on the fit and finish of the sewing, which leads to more durable gear.

Some of the things you can look for to easily spot high-quality gear is:
- Doubled seams - means more time and effort was spent on the construction of the gear which equals a more resilient, durable, and long-lasting product
- Extra reinforcement- this gear will not fail you in the wild.
- Top of the line materials- don’t fall for the parachute scraps off the manufacturing room floor, when gear is assembled with more expensive materials it will excel in performance every time to the cheap alternatives
- Seam sealing- why do it yourself with sticky glue when professionals with technical heat seam-sealing machines can do it more efficiently and effectively, and long-lasting!
- Unique or patented designs- typically means this gear pushes limits for functionality in the outdoors and you just can’t find this feature anywhere else
- High tenacity thread - this is not your cheapo thread just to hold a piece together, this is your ‘superman hair’ of the thread world
- Offers a lifetime warranty- Even the best gear can sometimes hit a snag. Make sure that the company you're buying from offers you the support you deserve for your products!
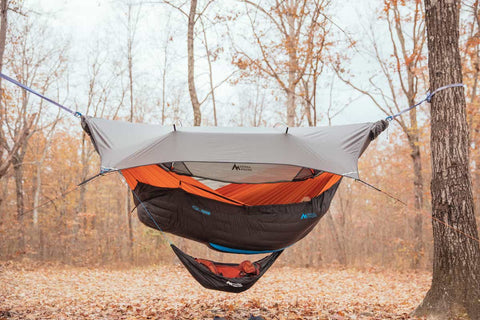
If you're looking for a piece of gear that checks all the boxes, check out the Ninox Flatlay System!
Top of the line gear can last a lifetime of adventure, instead of a single season.
As you're adding to your gear stock, take the time to ask yourself:
- Does this piece of gear empower me to get somewhere or do something my current gear doesn't?
- How does this gear help me accomplish my outdoor goals?
- Is this a better quality item than something I already have?
- Does this gear do something different than other gear that I currently own?
Asking yourself these questions will help steer you toward purchasing gear that enables you to expand your outdoor adventures.

2) Keep It High and Dry! Dry gear is happy gear!
Have you ever pulled a tarp out for the first trip of the season and gotten a big whiff of mold and mildew? Ruining your gear by being careless SUCKS, but (fortunately!) it's entirely preventable.
When returning from a trip, take these simple steps to protect your investment:
- Air out your tarps and be sure that they're completely dry before packing them away. This is as simple as hanging them up to dry in your garage or in the yard.
- Dry your quilts before you store them. Leaving them out on the couch for a day usually does the trick.
- Sleeping bags and quilts shouldn’t be compressed when you store them because that can cause them to lose loft. Loft is what keeps you warm, so unless you want to feel a little more fresh air than you’d planned, store your sleeping bags and quilts by hanging them on a hanger in your closet.
- Store your fuel appropriately, and check other gear (like stoves and pots) to make sure they're clean and dry before you put them away.
- Hang gear away from mice and insects. Believe it or not, gear that's been chewed on is less fun than intact gear.
Taking the time to put your gear away the right way is worth it in the long run, even though it may seem like a hassle. Storing your gear correctly also allows you to inspect your gear for any abuse and gives you a chance to repair it before your next trip!

3) Repair Gear as Accidents Happen
"We don't make mistakes, just happy little accidents" -Bob Ross
As you use gear, accidents naturally happen, and you may end up with some small rips, tears or snags. A minor tear in your insect shield might not seem like a problem until you find yourself up close and personal with an insect (or insects!) that’s just big enough to get in.
A small repair kit may add a little bit of weight to your overall carry, but it is just a part of being a prudent camper.
A lightweight repair kit may include some of the following;
- Technical Tape – Tenacious Tape or Duct Tape can patch holes in technical fabrics that are used with common camping gear.
- Small Sewing Kit – A needle and some thread will allow you to do some temporary patchwork if needed.
- Pole Splint – This is essentially a tube that has a slightly larger diameter than your tent or shelter pole. If your pole cracks or breaks, you can slip this over the damage and tape it into place as a temporary fix.
- Appropriately Sized Cordage – Paracord or 550 cord is popular, but any lightweight rope can be invaluable if the guy lines on your shelter get damaged.
- A Great Company- Some companies offer a lifetime warranty or will help you repair gear that's been damaged.
This simple repair kit can handle most minor repairs in the field. Even dental floss and a small stitching needle can do a field repair in a pinch!
It’s important to note, however, that learning the skills to repair your gear is as important as learning how to set it up. Before you go on any trip take a little time getting comfortable with how to make these repairs so that you won’t do any additional damage.

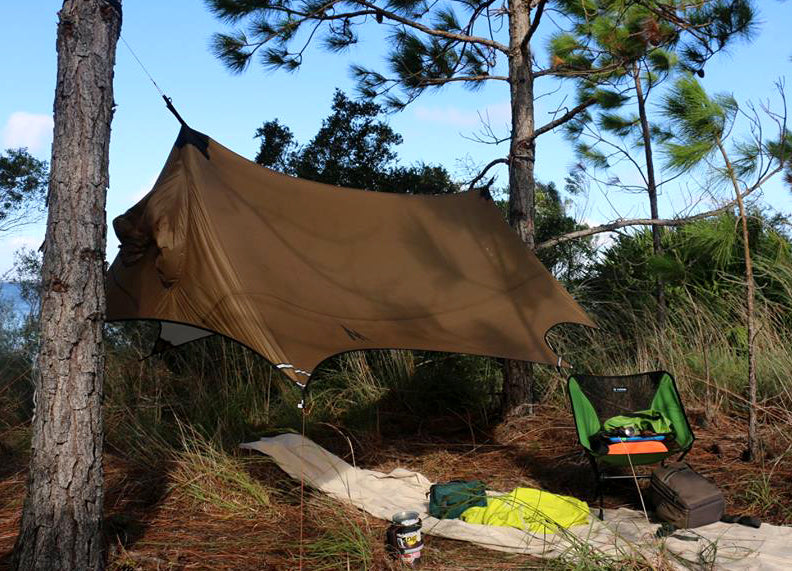
4) Watch Where You Set Up
"Look up, look down, look all around" -Auntie Mabel
While this sounds a little like common sense, setting up in a poor location is easier than you might think. Setting up a hammock suspension used on a sappy tree, a footprint set up over thorny ground cover or on ground with poor drainage: these are all easy mistakes to make.
Before you break out the first pole or stake, take a few minutes to make sure that your site is a good place to set up.
Some things to look for (and avoid whenever possible):
- Dead tree limbs hanging over your site (they’re called “widowmakers” for a reason.
- Sap where you’re planning on hanging your suspensions (believe it or not, cleaning up sticky suspensions isn’t as fun as it sounds)
- Thorny ground cover (you don’t want your gear to be “hole-y”)
- Signs of animal crossings (few things are as terrifying as waking up to a moose walking through your camp - trust me on that one)
- Wind direction (your shelter can quickly become a wind tunnel if you’re not careful)
5) Wash Gear Appropriately (and only when necessary)
“If cleanliness is next to godliness, welcome to purgatory” – Sam M.
Different fabrics and different technical coatings require different care. Most gear can go longer than you think without being washed, but when it does need it, be sure to follow manufacturer instructions.
Some tips and tricks;
- Use a sleeping bag liner to extend the time between washes for quilts and sleeping bags
- Toss a few tennis balls in the dryer with your quilts to help puff the loft back up
- Never use solvent-based cleaners on technical fabrics – use water and a mild soap instead
Learning to take ownership of your gear is not only good for your wallet, it’s good for the environment.
Every year, tens of thousands of pounds of camping gear ends up in landfills, so doing your small part to make sure that your gear lasts isn’t just frugal, it’s environmentally responsible. Great gear helps you achieve your goals, enabling you to go farther, faster, higher than you thought you could. If your gear needs some upgrading, spend some time considering these points before you purchase.
A good traveler leaves no tracks – Lao Tzu